Friday, 25 February 2011

What a way to spend a Thursday

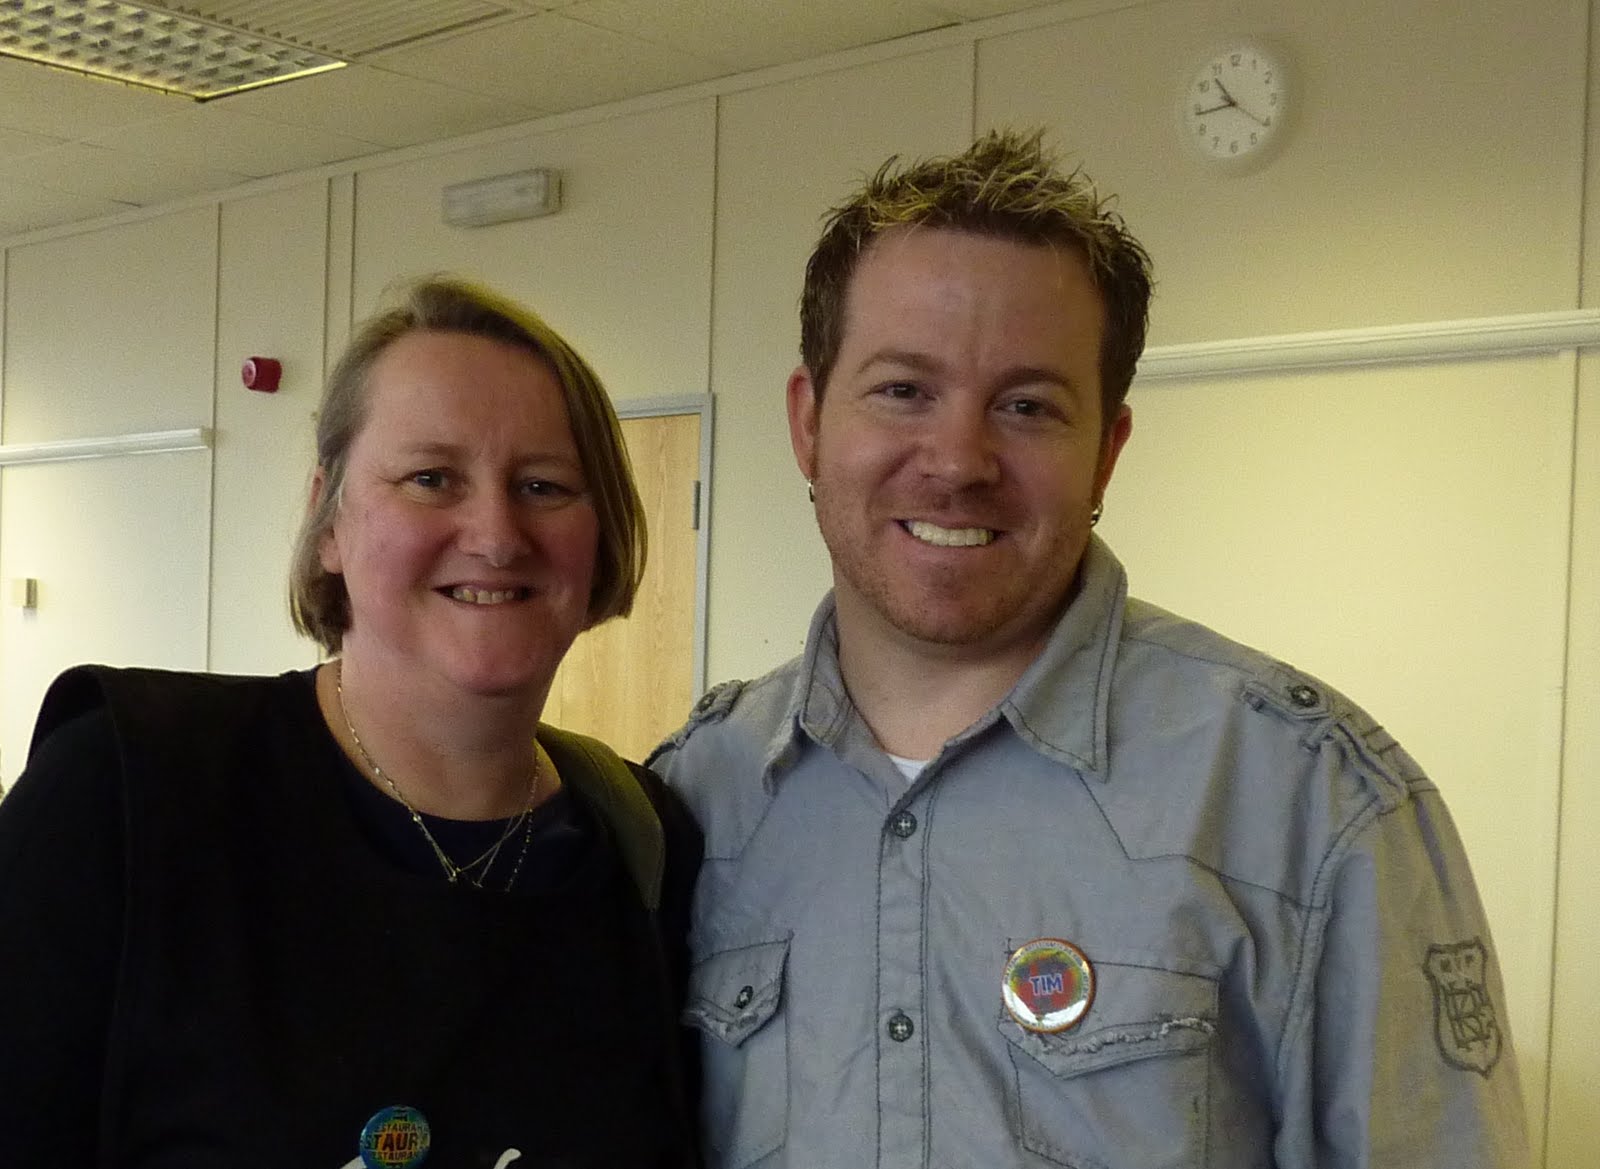
Wow, yesterday was a great crafting day. I spent the day at an Artsycrafts event and had the privilege of a 4 hour workshop with the amazing Tim Holtz and then a 3 hour workshop with Lin Brown and Leandra Franich. The workshop with Tim was using his 'Configurations' boxes and we got to play with a lot of stuff. We used a great product which was Claudine Hellmuth Multi-medium Mattte and I was surprised how much of that I could get through. It glues anything and dries clear but with a matte finish rather than a glossy finish. It seems to stick everything to everything and once it has dried completely - it ain't moving anywhere. Tim was superb and really friendly and funny. He has a great way to get you to think differently and I must admit that I did not think that I would like what I made, I loved what I did and even bought some more blank configuration boxes to make more - although I have decided that I will call them my 'memory boxes'. The embellishments that were provided were superb and Tim had a way of not making you feel rushed. I left a couple of spaces to put in some nick-nacks I had at home which I would like to go into it. It really was something different for me and took me right out of my comfort zone but I went into it thinking that I would learn new techniques and was always good to be made to think outside of the box. It ended up being something that I really enjoyed and had the added bonus of ending up with something that I really liked.

After I had finished Tim's workshop, I did a workshop with Leandra and Lin and this was a Colourwash Tree House. It was made using a variety of techniques that I had not really used before but was messy! I tried to use gloves but in the end gave up and just put up with messy hands. Although it was only meant to be a 2 1/2 hours workshop, most of us needed 3 hours to complete but as this was at the end of the day, who is going to complain of extra crafting time given. Some of the cutting has been done before hand to ensure that we would all be able to complete our items but this did not take away any of the techniques - only the parts that we could all do. We used paper, metal, chipboard, Ranger colourwash spray, PaperArtsy Fresco Finish paint, some of the Ideology goodies from Tim Holtz and of course Tissue tape from Tim.


I really enjoyed my day and felt that it pushed me in directions that I would not usually take but that was good. The amount of work and preparation that must have gone into this workshop was very much appreciated and think that a tremendous job was done to make an extremely enjoyable day for all.

I even got to go home with 2 finished samples which was an added bonus as did not expect to at the beginning of the day.

Tuesday, 22 February 2011

Mother-in-Law's Birthday Card

I obviously found my packs of Dufex in the cupboard as I have made yet another card using it! This card was for my Mother-in-Law's birthday and she just loves cats. On seeing these designs by Dufex I knew that I just had to use one of them on her birthday card. The hardest thing was choosing which one of the three cats to use so left that choice to my husband.

Although it does not show up on the main photo, the design has been decoupaged and then matted onto shades of blue card that I bought in a pack from The Range. I also used the same card to matt and layer the greeting. I wanted to keep the background plain so as not to detract from the cat image and the main card was a blue pearlescent card from the Centura Bright card pack from Crafter's Companion. The side of the card was punch with a Martha Stewart punch and then a layer of the blue card laid behind as a border.

It was obviously the right choice of card as I received a phone call from my Mother-in-Law who was very pleased with it.

Crafter's Companion Challenge 9


I thought that I would use this card as my 'Romance' challenge card. It has been made for my Brother-in-law but trying to get near to the Claret and Blue of his beloved football team. I used a hue lighter as I did not want the card to be too dark.

I have used Dufex for the images on a background of a paper from Core'dinations Gemstones. I used some heart ribbon that I bought up in Fleetwood for the side borders and cut out a wrapture in more paper from Core'dinations Gemstones and then used more ribbon that I bought in Fleetwood.

Although it does not show in this photo - there is a lovely pearlescent sheen to the card. inside the card, I have put a border or Dufex down the right hand side and finished it with an insert that has the image of the main topper faded behind the words.

Monday, 24 January 2011

Back to the Challenge

I haven't posted for a while as I have been busy with crafting, holidays and the Christmas period. I spent 3 great days at Darlington for the Craftaganza at the end of November, followed by a holiday to Holland and Germany in early December with another holiday to Blackpool the week before Christmas. We also had our bathroom completely ripped out and a new one put in - I only want to do that once. It is now time to get back to the challenges and this is my entry for Crafter's Companion Challege 8. I used one of the SWALK stamps coloured with Copic pens and used ribbon that I weaved to form a circle frame around the image. Then I used some plaid background paper onto blue pearlescent and used a Martha Stewart punch to create the border.

Tuesday, 16 November 2010

Workshop with Sue Wilson


I had a great day on Sunday with Sue Wilson at the Creative Expressions warehouse in Kettering. Apart from learning great techniques a child in a sweet shop. We made four cards and was also given a project to make at home - of which I have yet to start.

The first card that we made was with ribbon and fake pearls. It was amazing just how much ribbon was used to make this and to see Sue demonstrate looked so easy but first attempts were not as easy as it looked.

This is one that I obviously need to practice to get perfect and for it to be quicker that the time that I took.
The pearls are in fact dried Cosmic Shimmer white glue dropped onto wax paper, left overnight to dry and the dusted with Cosmic Shimmer Mica powder. They certainly work out much cheaper than buying the pearls to go onto the cards. The stamp is from the Postcards set by Sam Poole, as are all of the stamps used for all four projects.

The second card was made using eco friendly acrylic paint. Blobs of the paint were put on the top of some card and using a credit card or similiar object, the paint ws pushed down the paper in streaks. You had to be careful that the streaks did not go murky and also ensuring that the paint was put on evenly. Once dried it was cut out, stamped onto and then mounted. A bow and gold thread were added to finish it.

It was quite a quick card to make and although I was not keen on the mess, I did like the effect that it made so although whilst making it, thought that I would not use that technique again, am not not so sure.

The third card was made using domino tiles. The reverse side of the tiles were used and these were mounted onto card. Once the glue had dried, they were coloured with alcohol inks and then stamped onto. They were then sprayed with a varnish to prevent the stgamping from coming off. The background behind the dominos was stamped with distress inks and then stamped and mounted. The dots around the black card was made using inkessentials white pen.

The last background was just stamped onto a light blue marbled type card with the sprig stamp using perfect medium and then the greeting was stamped in black. The ribbon was added with the bow to finish the card.

Although quite a heavy card, I thought that the overall effect was really good and was very pleased with it.

The last card that we got finished on the day was made with Shaving foam and again the effect was really lovely for something that was so easy to do. Shaving foam was put into a container and a blue and silver Cosmic Shimmer Mister sprayed onto of the foam and then worked into the foam with horizontal lines. A circle was laid onto of the background card with a temporary tape.
Once the required effect was achieved, the card was laid down onto the top of the shaving foam and the foam was wiped off with a ruler. The circle was taken off straight away to avoid it sticking permanently.
That left a fantastic background and then was stamped in black with the holly creating a hill and the deer, sprig and greeting stamps in black. It was then distressed around the edges with Black Soot distress ink.

This background was then matted and mounted onto another background that was stamped with faded jeans and then perfect medium and mica powder brushed over. The ribbon was added with a knot put it in midway and then glints added to finish the card.

This was a great day and I really could not say which was my favourite card as I liked them all and the company on the day was fantastic fun. I am really looking forward to the next workshop that Sue does and the techniques that she teaches.

Sunday, 31 October 2010

Crafter's Companion Challenge 5

I just managed to get this finished in time for the fifth Challenge of Crafter's Companion, despite having it planned for a few weeks. I liked using the stamp and decoupage image on the workshop with Jayne so thought that I would use it again for the challenge.

The staircase image was from the Adorables range rubber stamps and the plaid background paper and decoupage was from the Adorables CD. I used roses from my stash but coloured some ivory roses with Antique Linen Distress Ink. I used Walnut Stain to add to the background of the plate and also to colour the darkest piece of brown background paper. For the lighter piece of brown background paper I used a mixture of Walnut Stain and Antique linen. I was very pleased with the effect that the ink gave, especially with the two colours together and will now experiment with using different colours to get a nice choice of background paers to use. Both were then mounted onto gold card.

Saturday, 16 October 2010

Workshop with Jayne

I had a lovely day last Sunday with a workshop with Jayne Nestorenko. Jayne's workshops are always good and the three course meal that we had at lunch time was the usual great quality as well. I like the way Jayne brings different ideas and of course it is always good to be able to see all her samples which she put around the room and is quite happy for you to take photos of as well. This time, we made 3 items - 1 card and a bird house from the Unmounted Stamp Set Bird House range and a plate card from the Adorables range.

We started off making the card with a bird house on the front and I thought that this was a nice card for Christmas. We used the Pointsettia Birdhouse stamp plate. While most chose to use red and green, I thought I would just liked the fact that it was not the usual view that you get for Christmas and was something different.


The second item was the bird house - using the Holly Birdhouse Stamp plate. These were lovely to make and instead of sealing the roof, we left one side open and used a velcro spot to keep it closed so that you can put a gift or sweets into it. This way, you could either put a new item in each day leading up to Christmas or even make one for each day of Advent. It was painted using the Cosmic Shimmer watercolours. Although it can't really be seen in the photo, it was cream and orange. Jayne had quite a few samples and one done in gold on cream was stunning. There was also a sample made with acetate, which would make a great treat box.

The last item we made was a plate from the Adorables range. The decoupage was from the the CD but we stamped the bannister from the rubber stamps in distress ink to put the girls against. The template for this comes from the Adorables CD and it even includes the template for the stand, which can also be used for other cards - not just this plate card. The photo does not do the plate justice but the hollies on the outer plate are glittered, as it the outer edge. The inner part is separate and attached with foam pads to give it some depth.

All in all, a great day with great crafting, great food and great people. I will certainly be attending some more of Jayne's workshops next year.