Showing posts with label Copic Pens. Show all posts

Monday, 21 October 2013

Jayne's Workshop Weekend - Part One

I spent a lovely weekend last week in Crick at Jayne Nestorenko's workshop.  It was certainly a weekend of fun, crafting and food.  It was good catching up with everyone and a couple that I had not seen this year.
We managed to complete 5 projects of the proposed 6 projects and in my group we made a gift bag instead of a lantern.  Our first two projects were made with Jayne.

The first card was made using gilding flakes which we then embossed and one of Jayne's new stamps especially designed for this workshop which I coloured using Copic pens.  We also added a ribbon border using stamps and embossing powder. 

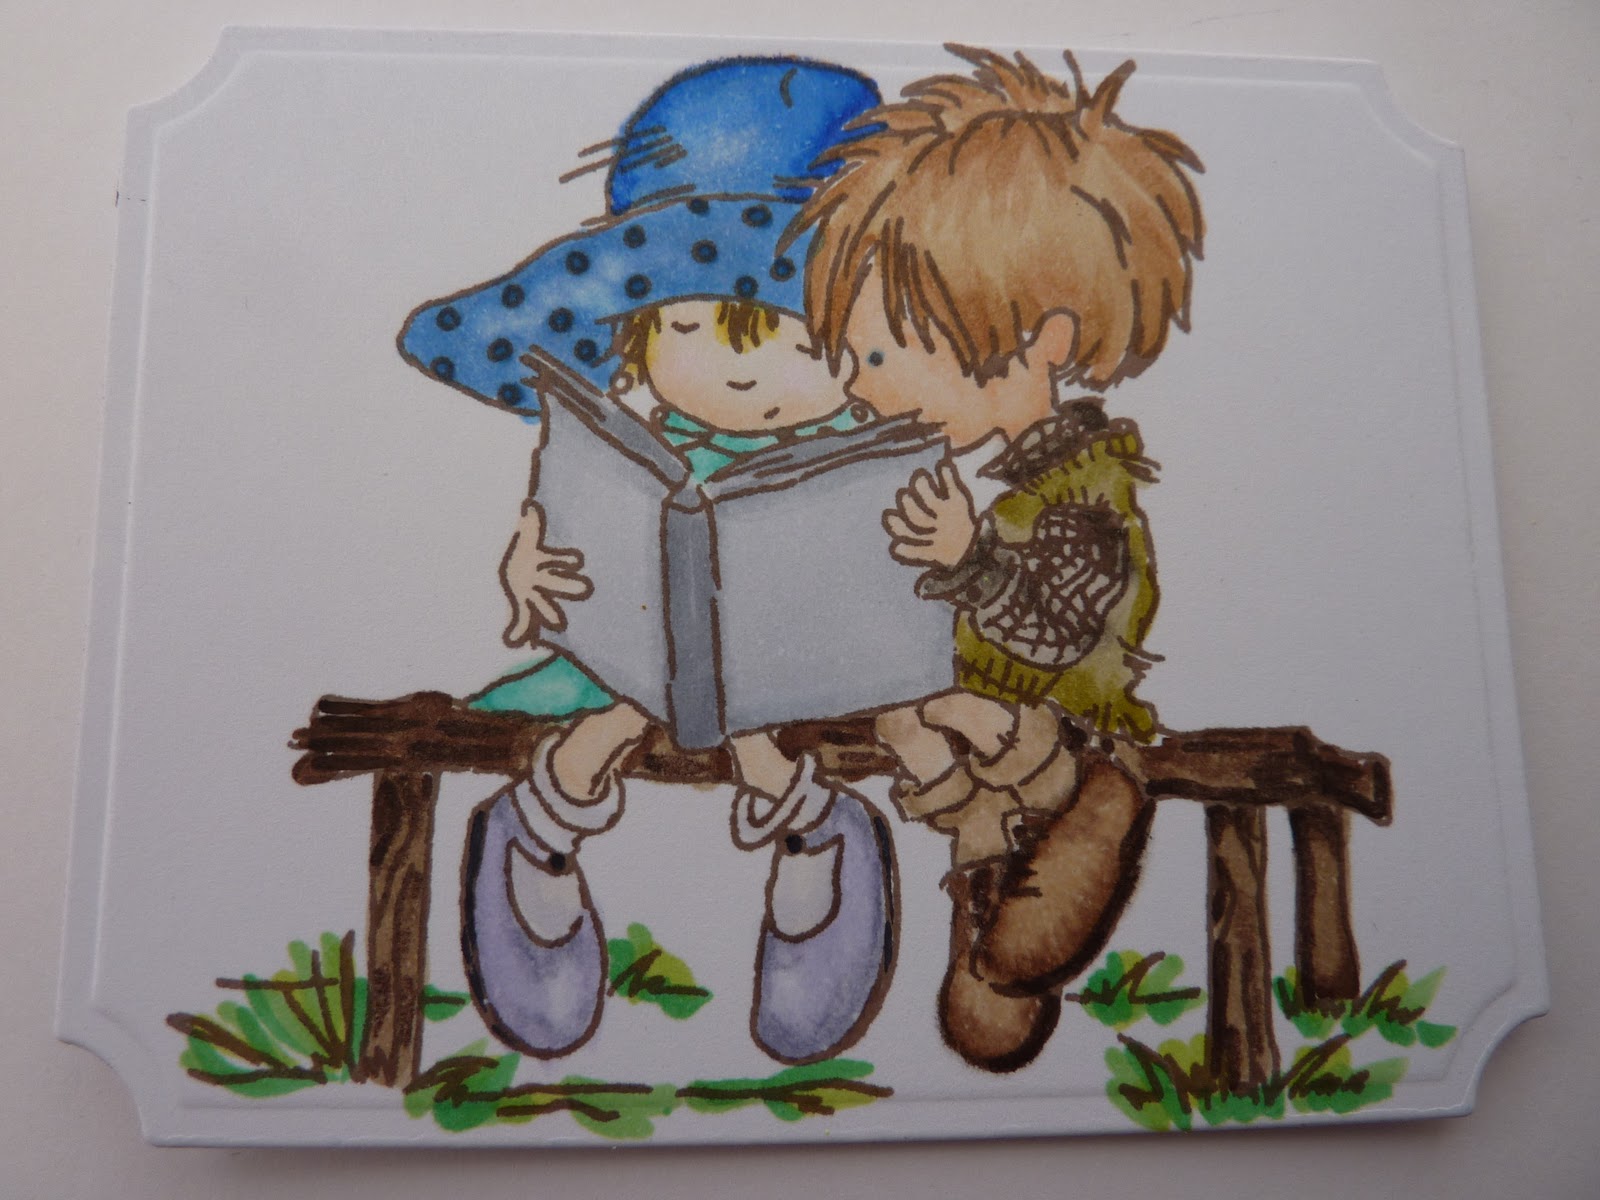
The next project was a gift bag and again the image used was another of Jayne's stamps which she had designed for this workshop. 

We thought that it was going to be easy and that we were just going to colour our image (which again was coloured using copic pens) and then matt and layer this onto a bought bag but we should have known better and that Jayne had different ideas - we were going to make the bag up from scratch.

This was easier said than done but in the end we all got there and succeeded in getting our bags made . 

The final project of the day was made with Helene - and again we  had the honour of working with some more of Jayne's stamps.  Jayne had ended up making 4 stamps for use with her workshop and on this card we used 2 of them as well as some stamps from Jayne's Winter Foliage set.

As this was a workshop with Helene, the were obviously going to be use of distressing inks and Helen really excels with this.  The card from was from a bought card blank which we coloured with distress ink around the borders and on the ivy.  We then cut into the ivy so that we could place our embossed white background. 

We then embossed the pattern using That Special Touch Mask Snowflake Frame and lightly distressed the raised pattern.  This had to be done very lightly and in the words of Helene "as light as a fairy's fart".  I guess this summed it up great!

Using distress inks we then created the scene inside of the frame and once this was done, glittered the frame.  This was then attached to the background and we then added the snowtree which had been painted with distress ink and lightly glittered.

Wednesday, 27 February 2013

Card for Mother-in-law and friend

As my Mother- in-Law's birthday and a good friend’s birthday are within days of each other, I decided that this year I would make the same card for both of them.  I was just hoping that the stamps were going to arrive on time for me to make the cards otherwise I was going to have to think of another design and luckily for me they did.

I used the JustRite Violette Vintage Labels cling stamp set to first stamp the topper onto cream card which I then coloured with Copic pens and some of the background with Distress Ink.  Then I cut them out using the JustRite Vintage label and banner die.


I stamped around the edge of the card also with the Violette Vintage Labels set and also coloured with Copic pens.  I then made the background using the Couture Creations Embossing Folder Tied Together on a purple Stardream card.  I used purple ribbon down both edges of the background paper and on one side put a bow and on the other put a strip under that has 'Happy Birthday' on.  You cannot see it very well it these photos.


I cut out the sentiments from the Britannia dies and mounted these onto Spellbinders Framed Tags 1 for my Mother in Law and onto Spellbinders Ribbon Banners  for my friend and then mounted these on the cards.


Friday, 7 December 2012

Humourous Cards for the men

As it is my brother and my brother-in-law’s birthdays within a day of each other, I decided that they would get the same card this year. I had found a great verse for grumpy men that I got from Joanna Sheen’s newsletter and decided that I would make a humourous card and use that verse.


I used La Pasche’s A5 Stamps Set Flippin’ Men Peace as I thought that this would appeal to both of them and I liked the idea of having a back and front.

I coloured the front and back images using Copic Pens and then cut them out and mounted them on to acetate.

I then cut out an aperture with Spellbinders Labels 8 on an A4 card and then also cut out another one on an A5 piece of card so that I could mount on the back of the front leaf to hide where I had mounted the acetate, making sure that they matched up when put together.


I then stamped the border of toilet rolls, also from the stamp set, down the left and right hand side in Versafine Sepia and also stamped the greeting  in sepia and mounted this onto the card.

I attached the insert with the grumpy men verse to add to the humourous theme.

I am hoping that they both enjoy the humour in these cards and they are a little different to what they normally get.

Sunday, 15 July 2012

Back to School Girl

I coloured this LOTV stamp a few months ago but have only just decided to use it on a card.  The stamp is called "Back to School Girl" and just loved the expression on her face.  There is also a boy stamp which I also bought at the same time that has just as good an expression.

I used Copic pens to colour her although I did not keep a record of which colours I used but think it was the Warm Greys. This was made into an 8" x 8" card due to the size of the doily used as I felt the image fitted into this well.  I used Rainbow card to cut French Pastry Doily die.

In the corner, I used a spellbinder die to cut out the corners in the same rainbow card to match.
This was then mounted onto Core'dinations card and then onto some 7Gypsy paper that I had in my stash. 

The flowers used were from Wild Orchids Craft Sweetheart Blossoms and Cherry Blossoms.

Saturday, 11 February 2012

Colouring with Copics


After taking the LOTV Masterclass in May, I decided that it would be time to put into practise what I had been taught.  I used a variety of stamps from Sheena Douglass, SWALK, Beatrix Potter, LOTV and Stampavie to give a good selection of both large and small areas to colour.  Most of them have flesh and hair as I think that if the most difficult to colour at times. 
  
I also coloured a couple with different colours just to give a different perspective to the images.  The first image is a SWALK stamp from Crafter's Companion and these was one of the images that I did in two colourways.  The second image is at the bottom as I found it too difficult to try and put the pictures side by side.


The second image is from Stampavie and I also coloured that in different colourways.  I liked this stamp due to the amount of flowers that is in the image which gives plenty of practice of colouring very small areas.  The other colour image of this is also at the bottom of the post.

The next image is from Sheena Douglass and has lots of large areas to colour.  I have coloured this in quite a few different colourways but only have the photo of this one and I prefer blues anyway.    This is an ideal one to colour if you only have limited colours as you do not need too use to many to get a nice coloured image. 


This image is from LOTV and I really like the cuteness of their stamps.  Also you can use more colours in this one and this was one that I really enjoyed colouring in.  I always used to think of colouring in as something all children did - until I tried it and realised that there is a lot more to it than just using the one colour and going for it!


The last image is from Crafter's Companion Beatrix Potter Collection and I used this as a practice image as it had needles rather than flesh to colour.  I need to try and get the right feel to this one with it being more spiny than normal faces.


I was pleased with these images but also know that I have still to improve but at least now I will stamp and colour as at one time I did not like to use rubber stamps at all apart from stamping greetings.  It is all a question of confidence and when you think about it - the worst that can happen is that you put it in the bin!!


Thursday, 17 November 2011

A Card for Christmas

I thought I would post the first of my Christmas cards for the year.  The receipient of this one will have received this by now so I can put it on the blog.

This is not the one everyone will be getting, that one won't go up until a few days after I have sent them all out.  This one was made using the Spellbinders label 4, Praising stamp plate from The Adorables Christmas Collection, greeting stamp Xmas Medallions Set 2 from and background paper from The Adorables Christmas Collection CD.  The ribbon is blue crinkly edge ribbon from Creative Expression and the pearls on the ribbon was added using Cosmic Shimmer Pearl PVA Glue.

The stained glass window was coloured using different distress inks and the choir boy was coloured in using Copic Pens.  The layering colour was obtained by using the same ivory card but colouring the card with Distress inks so that each lay is a different colour.

The corners were finished off with a corner punch - both on the main card and background car - and also on the insert which again was printed from the Adorables Christmas Collection CD.

Thursday, 27 October 2011

Finished card from Colouring Masterclass

After attending the LOTV Master Colouring workshop in May, I thought I would get round to finishing off the card that we were given at the end.  Instead of using my original colouring, I decided that I would test myself that it would work again colouring on my own without the tutors there to advise.  Obviously Bev Rochester and Jacqui Dennis did a good job as I thought that I have managed to colour this in without any problems and must have retained what they taught me!  I used copic pens to colour.

The stamp is "Love Grow" by Lili of the Valley (http://www.liliofthevalley.co.uk)/ and the embellishments were provided in our pack on the day.  I believe that the background paper is from http://www.nitwitcollections.com/.

I was really pleased with the overall effect of the card and felt that this workshop was money well spent.