Sunday, 7 July 2013

Jayne's Workshop

It has certainly been a busy last few weeks for me.  I had a 15 night holiday in Califonia staying in Anaheim and travelling to LA and San Diego for day trips.  What with standing in lines at Disney and stuck in traffic jams on the way to LA and San Diego, the holiday seemed to take it out of me.  I did managed to get to some craft shops though and found a great place in Tustin called Wooten's Scrapbooking that was recommended by Sue Wilson and it was fantastic.  I certainly did some damaged to my purse there as they had some lovely papers.  It was a good job I took an empty case with me so that I was able to fill it up with all my craft purchases.

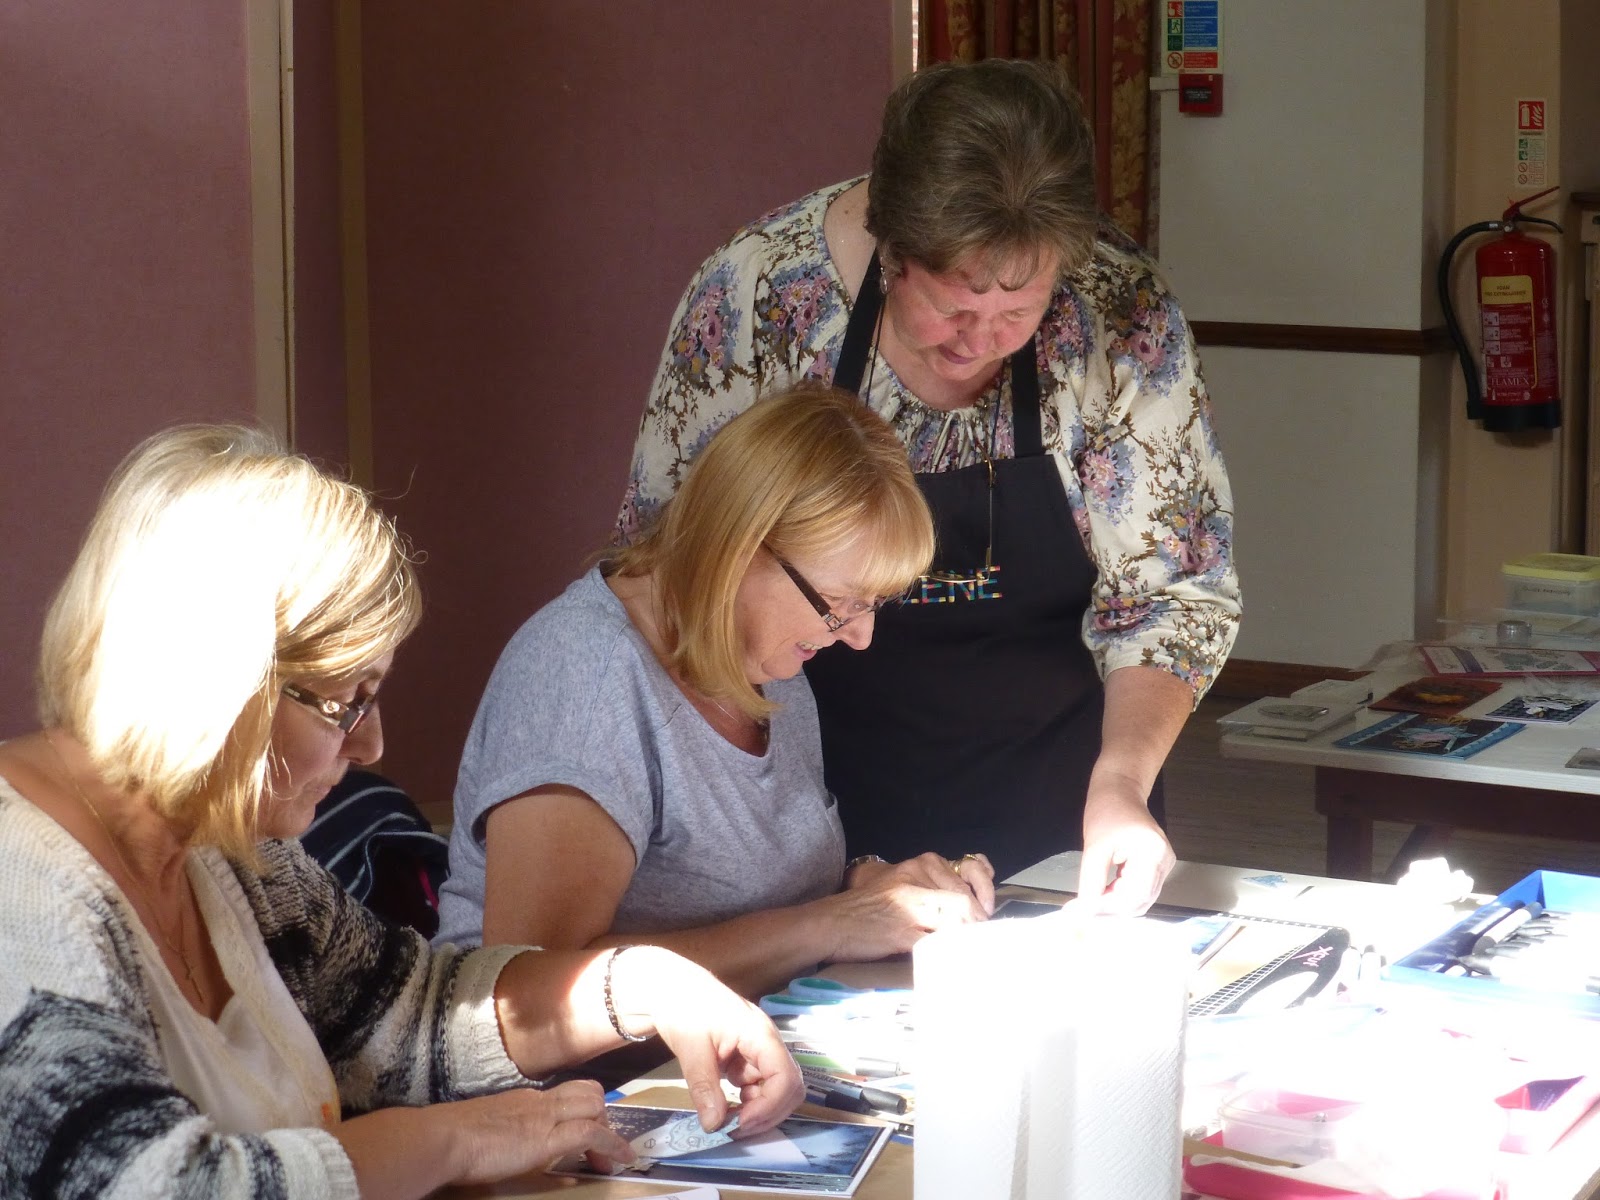
Helene showing her techniques

I hardly recovered from the holiday and jet lag when I was getting back in the car to go to Jayne Nestorenko's workshop - and it just happened to be the day of the British Grand Prix - not a good day to be on the M1 - I got stuck in more traffic jams - it made me wonder if I was back in California!  What was even worse was it was such a nice day as well and I hoped I was not missing out on Summer!

Jayne explaining


It was well worth the time stuck in traffic though as the workshop was superb, as usual. 

Jayne had a new format for this on - we were split into two groups.  One group spent the morning with Jayne and the other group the morning with Helene.  In the afternoon we swopped over so each group did both projects.  It was good to catch up with everyone as it is really a great crowd that go on Jayne's workshops and new people are always made to feel welcome.

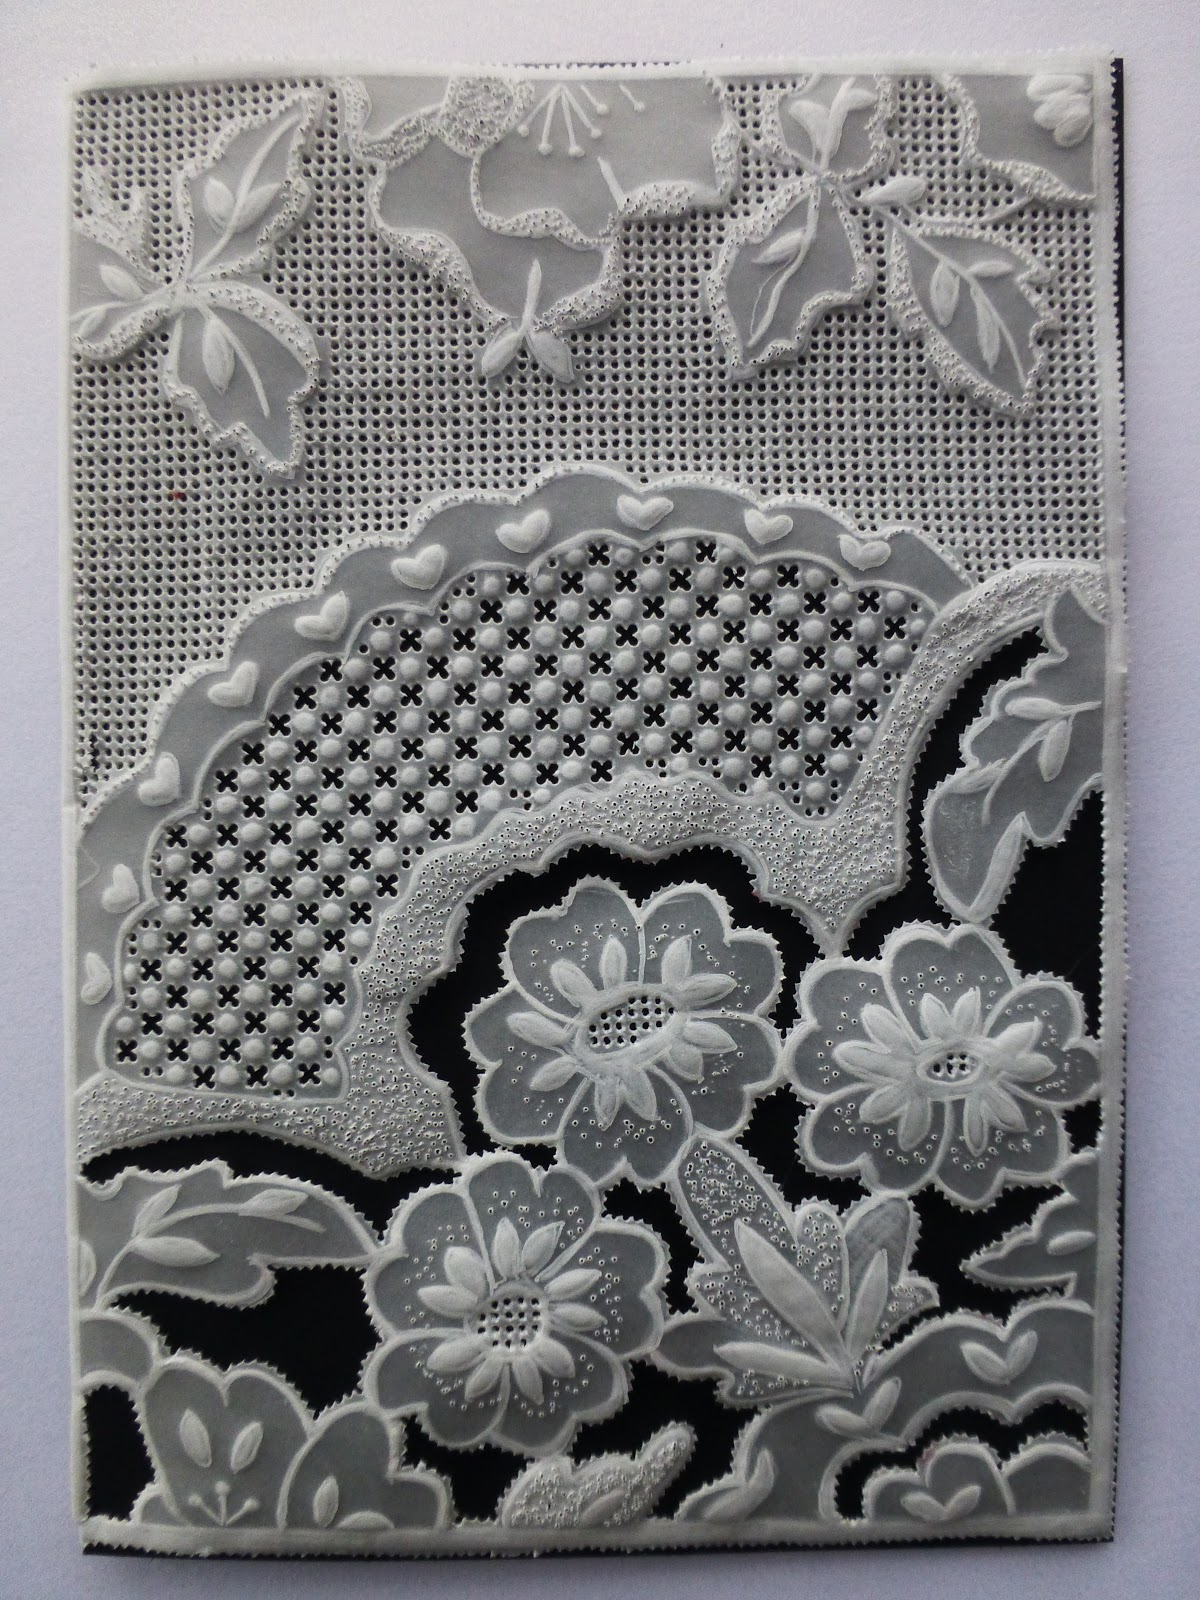
We were using one of Jayne's new Stamp sets which was based on Venetian Masks.  Although the same stamp set was used for both projects - they were both completely different and it definately felt crazy making a Christmas Card on a nice hot day. 
 
I was in the grioup that made  Jayne's project first and there was more choice with variation on this one.  We got to choose the colours that we wanted for the mask and for the background paper which we made.   
 
I also made mine slighty larger than most by leaving space at the edge that I could put my butterflies on rather than on the background paper.  I did not quite finish this at the workshop as I knew that I wanted to put the tears on and did not have them with me.  Although I did not think that I would like this card at first, I very quickly got to love it.
 
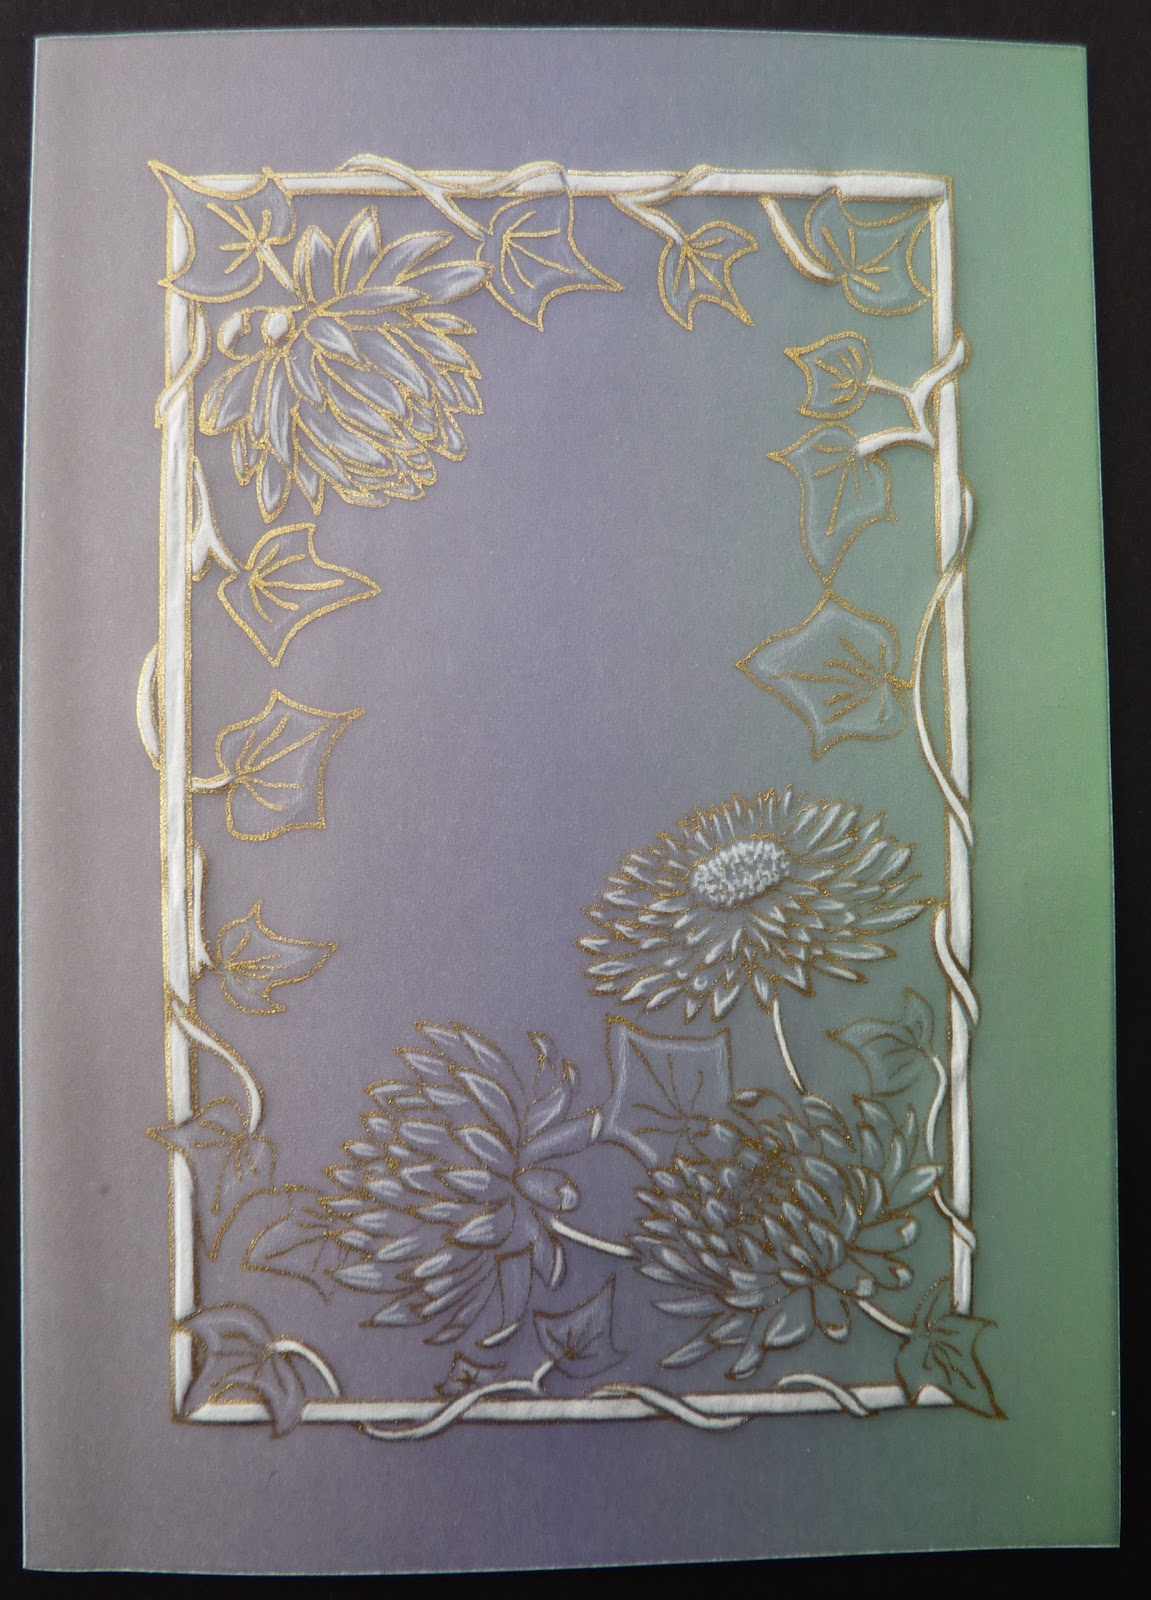
My next card was the Christmas one and I thought that Helene came up with a great idea for this and that it is really stunnig and different for a Christmas card.  I felt that it really captured the Snow Queen look and it is so much better than it looks on the photo.
 
Even though I was tired, this was a workshop that I was glad that I did not miss and it was nice to catch up with Pat.  You can see here the cards that she made at this workshop http://patscardmakingpassion.blogspot.com/2013/07/still-waiting-for-summer.html.


Saturday, 29 June 2013

White on Black

I seemed to have found a new vigour for making whitework cards in parchment and enjoyed making this one.  It has a little more cutwork than the last card that I made but again when black card is placed behind, makes a card that really stands out.  I first traced the pattern with white tinta. 

I then pierced the pattern at the top of the card using an easy grid and also the pattern where the cutwork would be.  I then embossed the folowers and hearts on the pattern and where I had lightly embossed, I then stippled to give it a textured effect. 

Once all the embossing had been done, I then cut out the crosses and then using a two hole tool, perforated around the edges of the flowers and cut away the excess to complete the cutwork.

I then added a black card as an insert to finish the card.

Tuesday, 18 June 2013

Wedgwood Visit

I have always loved Wedgwood plates and went to visit the Wedgwood Museum on the way back from a football match recently. As it was a Sunday we were not able to go into the factory but they still had a demonstration area where various aspects of decorating pottery were being demonstrated.

I had asked the demonstrator that was decorating plate with enamelling whether it was a job or a hobby for her - the answer was both - and we got talking and I mentioned that I was a crafter.

I was quite surprised when she asked me if I would like to try it.  I was expecting to go into the middle of the room and try and one of the items that you can decorate and then get sent to your home but instead I was told to sit at her seat.  She loaded up the brush for me and I then proceeded to decorate some of the plate.

I must admit that it was very relaxing and that I really enjoyed it.  Lucky I had my husband with me the take a photo of what I was doing.  It was also nice that the demonstrator said that I had done it well.

I can't see myself doing it again as after each colour the plate has to be fired but it made a nice change to go away and still do something crafty.

There were some wonderful pieces of pottery at the Museum and I can certainly recommend it as a worthwhile place to visit.

Friday, 7 June 2013

Dandelions and Ivy

This card has no cutwork on at all but it just whitework, tinta and dorso.  This card is very quick to make as the embossing takes the longest and there is not too much of that on this card.  The colouring and tracing are very quick.

Before tracing and embossing, I coloured from the reverse of the card using Dorso crayons to create the two tone effect background.  This needs to be done first to ensure that the colour does not come through onto your whitework.

The pattern was traced out in Gold tinta ink and the embossed from the reverse.  Apart from ensuring that the border was really white, the whitework is only light on the petals and leaves.

Thursday, 30 May 2013

Perfect Day

I just loved the release by Crafter's Companion of Crisalis Classics  Stamp Sets and just had to use this one which is Perfect Day.  I thought that I would colour it this time using my Twinkling H2Os which I had not done for while. 

I was pleased with how it turned out and  like that fact that I had the colours to give her an olive complexion, which was just as well as I realised that I did not have any other skin colours - which has now been rectified.

I cut my image out using Spellbinders Gold Labels 4 and the coloured around the edges with Spun Sugar Distress Ink.  Using pink card, I cut out using the larger size of Gold Labels 4 and attached it and the image together with pink ribbon and then mounted this onto some card that was first matted with a matt gold and then plaid background.  The plaid paper is from one of my many Crafters Companions CD, I can't remember which one it is from though. 

I then added pink corners cut out from from Shapeabilities Gold Corners One and also the greeting from Gold Labels 4.


Wednesday, 15 May 2013

A is for ...

I like the idea of monogram cards as I think that they really personalise the card.  I made this one just really starting with the first letter of the alphabet and that I also have friends with this initial.    Again, it is a really quick card to make with very little whitework or cutouts.This is one of the quicker parchment cards to make.

This was traced with gold ink and coloured with dorso crayons behind the monogram and Perga Color Exclusive for the pattern and between the patterns on the edging.  The colouring was put on the reverse side of the parchment paper and also the embossing of the edging. 

Then, using a two hole tool, I pierced around the edging of the card - except for the spine - and cut the excess away to form the edging.


Wednesday, 8 May 2013

Blue Flowers

I really enjoyed making this card as it is mainly whitework with a little colouring just to give it that hint of colour. Although it is quite a simple card, it does take a little longer to ensure that the whitework is correct.  I find that you need patience to ensure that you do the whitework correctly as if you rush, you can end up spoiling your work.

The flower pattern was first traced with a very fine line using white tinta ink. It is important that the line is extremely fine so that it does not deflect from the finished work.

I first coloured the reverse of the flowers with a blue dorso crayon and then embossed from the reverse which ensured that the whitework stayed white.
 
I then drew the outside border in gold tinta ink and then embossed between the pattern and with a two hole tool, pierced around the outside border and then cut away to finish the card.