Saturday, 29 June 2013

White on Black

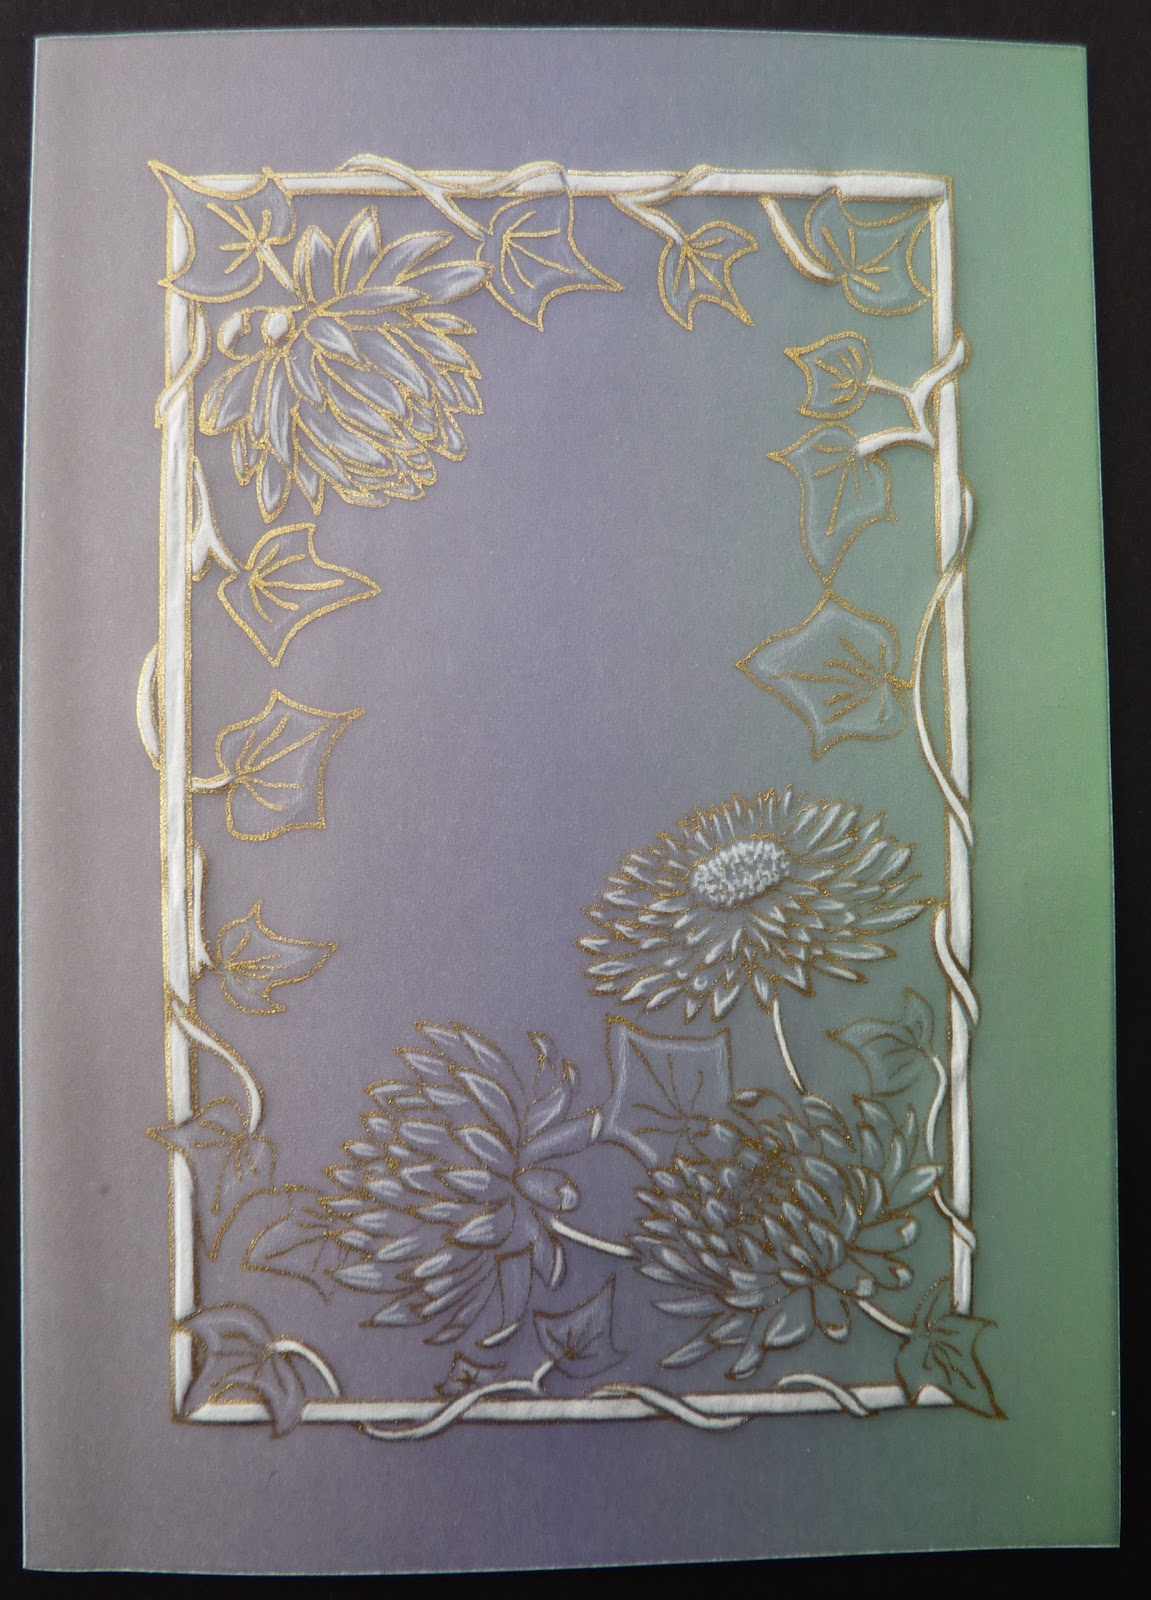
I seemed to have found a new vigour for making whitework cards in parchment and enjoyed making this one.  It has a little more cutwork than the last card that I made but again when black card is placed behind, makes a card that really stands out.  I first traced the pattern with white tinta. 

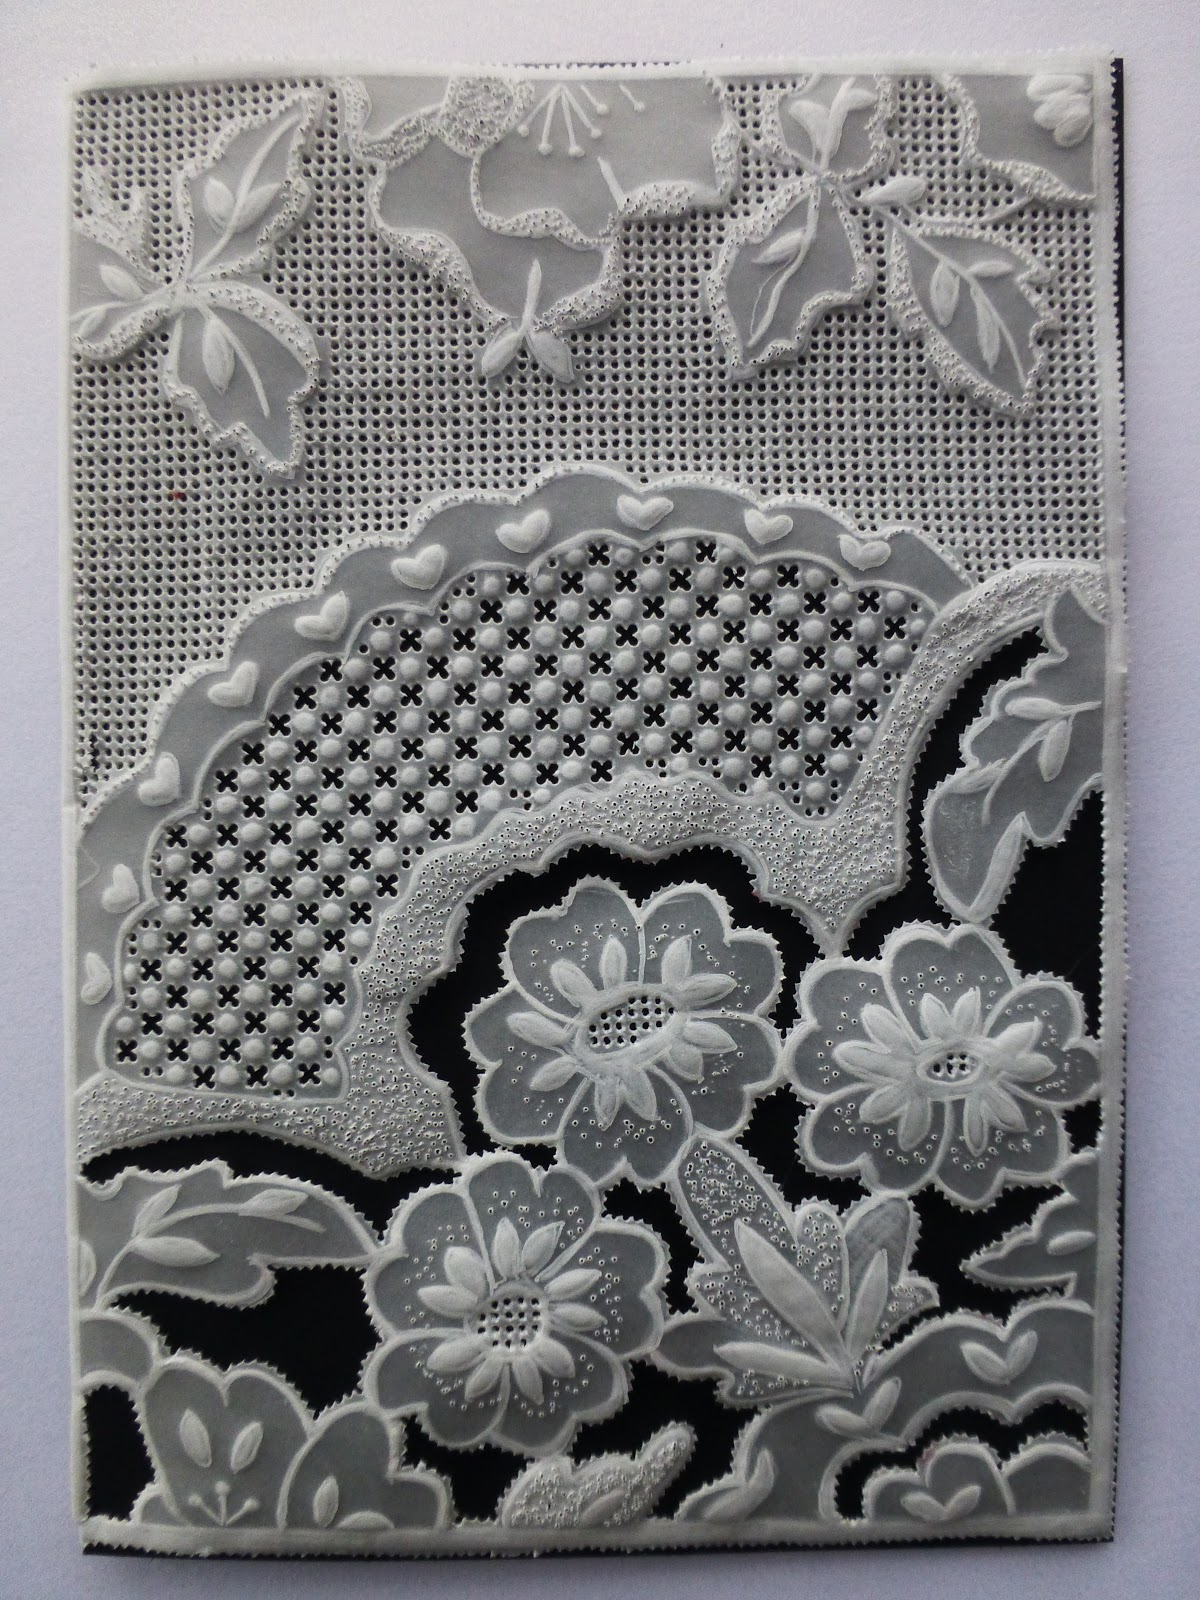
I then pierced the pattern at the top of the card using an easy grid and also the pattern where the cutwork would be.  I then embossed the folowers and hearts on the pattern and where I had lightly embossed, I then stippled to give it a textured effect. 

Once all the embossing had been done, I then cut out the crosses and then using a two hole tool, perforated around the edges of the flowers and cut away the excess to complete the cutwork.

I then added a black card as an insert to finish the card.

Tuesday, 18 June 2013

Wedgwood Visit

I have always loved Wedgwood plates and went to visit the Wedgwood Museum on the way back from a football match recently. As it was a Sunday we were not able to go into the factory but they still had a demonstration area where various aspects of decorating pottery were being demonstrated.

I had asked the demonstrator that was decorating plate with enamelling whether it was a job or a hobby for her - the answer was both - and we got talking and I mentioned that I was a crafter.

I was quite surprised when she asked me if I would like to try it.  I was expecting to go into the middle of the room and try and one of the items that you can decorate and then get sent to your home but instead I was told to sit at her seat.  She loaded up the brush for me and I then proceeded to decorate some of the plate.

I must admit that it was very relaxing and that I really enjoyed it.  Lucky I had my husband with me the take a photo of what I was doing.  It was also nice that the demonstrator said that I had done it well.

I can't see myself doing it again as after each colour the plate has to be fired but it made a nice change to go away and still do something crafty.

There were some wonderful pieces of pottery at the Museum and I can certainly recommend it as a worthwhile place to visit.

Friday, 7 June 2013

Dandelions and Ivy

This card has no cutwork on at all but it just whitework, tinta and dorso.  This card is very quick to make as the embossing takes the longest and there is not too much of that on this card.  The colouring and tracing are very quick.

Before tracing and embossing, I coloured from the reverse of the card using Dorso crayons to create the two tone effect background.  This needs to be done first to ensure that the colour does not come through onto your whitework.

The pattern was traced out in Gold tinta ink and the embossed from the reverse.  Apart from ensuring that the border was really white, the whitework is only light on the petals and leaves.

Thursday, 30 May 2013

Perfect Day

I just loved the release by Crafter's Companion of Crisalis Classics  Stamp Sets and just had to use this one which is Perfect Day.  I thought that I would colour it this time using my Twinkling H2Os which I had not done for while. 

I was pleased with how it turned out and  like that fact that I had the colours to give her an olive complexion, which was just as well as I realised that I did not have any other skin colours - which has now been rectified.

I cut my image out using Spellbinders Gold Labels 4 and the coloured around the edges with Spun Sugar Distress Ink.  Using pink card, I cut out using the larger size of Gold Labels 4 and attached it and the image together with pink ribbon and then mounted this onto some card that was first matted with a matt gold and then plaid background.  The plaid paper is from one of my many Crafters Companions CD, I can't remember which one it is from though. 

I then added pink corners cut out from from Shapeabilities Gold Corners One and also the greeting from Gold Labels 4.


Wednesday, 15 May 2013

A is for ...

I like the idea of monogram cards as I think that they really personalise the card.  I made this one just really starting with the first letter of the alphabet and that I also have friends with this initial.    Again, it is a really quick card to make with very little whitework or cutouts.This is one of the quicker parchment cards to make.

This was traced with gold ink and coloured with dorso crayons behind the monogram and Perga Color Exclusive for the pattern and between the patterns on the edging.  The colouring was put on the reverse side of the parchment paper and also the embossing of the edging. 

Then, using a two hole tool, I pierced around the edging of the card - except for the spine - and cut the excess away to form the edging.


Wednesday, 8 May 2013

Blue Flowers

I really enjoyed making this card as it is mainly whitework with a little colouring just to give it that hint of colour. Although it is quite a simple card, it does take a little longer to ensure that the whitework is correct.  I find that you need patience to ensure that you do the whitework correctly as if you rush, you can end up spoiling your work.

The flower pattern was first traced with a very fine line using white tinta ink. It is important that the line is extremely fine so that it does not deflect from the finished work.

I first coloured the reverse of the flowers with a blue dorso crayon and then embossed from the reverse which ensured that the whitework stayed white.
 
I then drew the outside border in gold tinta ink and then embossed between the pattern and with a two hole tool, pierced around the outside border and then cut away to finish the card. 


Tuesday, 30 April 2013

Forever Blowing Bubbles

I seem to have too many people that are West Ham fans and it is getting harder to think of ideas that incorporate both football and their colours.

I had this stamp which is Flippin' Stamps football and coloured it using Spectrum Noirs in West Ham colours.  Although I used their colours, I wanted to make it just a little different so did not copy their shirt exactly.

I then cut it out using the Spellbinders A2 Distressed Edges and coloured the edging with Distress inks in Salty Ocean and Seedless Preserves. 

I then mounted this onto some Core'dinations card that I had embossed using the Crafts Too Football embossing Folder.  This was then mounted onto more Core'dinations card and as I did not have any ribbon that was the right combination of colour - put one of top of the other to create the colour scheme I wanted.  It also looked masculine in those colours.

As soon as I saw the Angelica and Friends - Felicity Stamp Set by Crafter's Companion that I had to buy it as it had the phrase "Forever Blowing bubbles" and I knew that I would get a lot of use out of that phrase.  I stamped it out onto on to card and also added Happy Birthday and then using one  of the smaller Labels 4 spellbinders, cut it out to form my sentiment.